
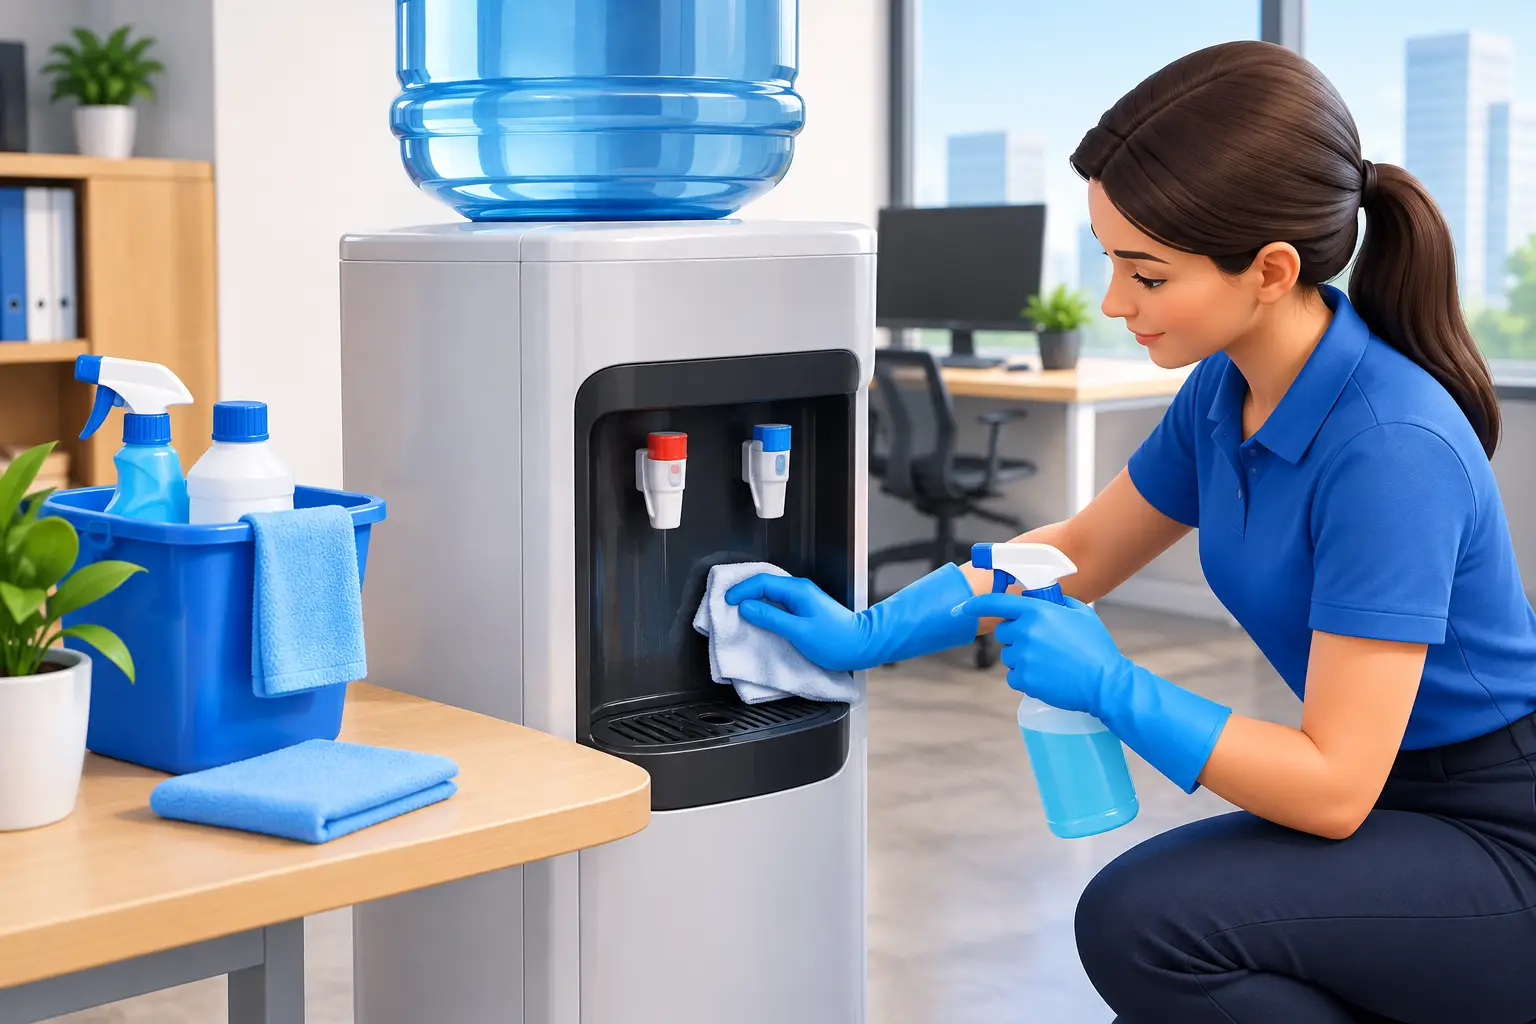
A water dispenser may look clean from the outside while its drip tray, reservoir, faucet, and internal tubing need attention. In a busy office, dozens of employees can use the same unit every day. Learning how to sanitize water dispensers helps facilities teams protect water quality, keep the break room presentable, and give employees confidence in a workplace essential.
For office managers, this is not simply another cleaning task. It is part of maintaining a reliable break room experience. A dispenser that tastes fresh, operates properly, and receives routine service supports employee comfort while preventing small maintenance issues from becoming inconvenient disruptions.
Cleaning and Sanitizing Are Not the Same
Cleaning removes visible dust, mineral residue, fingerprints, and spills. Sanitizing reduces microorganisms on food-contact surfaces to a safe level. A dispenser needs both.
The cabinet, top surface, bottle collar, and drip tray should be cleaned regularly with a mild cleaner appropriate for the material. The water-contact components require a sanitizing process that reaches the reservoir, faucets, and any accessible internal surfaces. Wiping down the exterior alone does not sanitize the dispensing system.
The correct process depends on the dispenser model. Bottled coolers, bottleless point-of-use systems, countertop units, and hot-and-cold dispensers do not all have the same access points, drainage procedures, or filtration requirements. Always begin with the equipment manufacturer’s operating and maintenance instructions. If your workplace receives dispenser service, use the provider’s recommended process and schedule rather than improvising.
How to Sanitize Water Dispensers Safely
Schedule sanitizing at a low-traffic time, ideally when the break room can be temporarily unavailable. Post a brief notice so employees know not to use the equipment while it is being serviced. Have clean gloves, lint-free cloths, a clean bucket, an approved sanitizer, and access to a drain or sink ready before starting.
Shut down and empty the unit
Unplug the dispenser before beginning, especially if it has a hot-water function. Turn off the hot and cold switches if the unit has them. Remove the bottle from a bottled cooler, or shut off the water supply to a bottleless unit according to the manufacturer’s instructions.
Drain water from both faucets into a suitable container. Many units also have a drain plug or drain valve at the rear or bottom. Follow the model-specific instructions to empty the reservoir completely. Hot-water tanks can retain heat, so allow sufficient cooling time and use care when draining.
Remove and wash accessible parts
Take out the drip tray, baffle, faucet guards, and other removable components. Wash them with warm water and mild dish soap, then rinse thoroughly. The drip tray deserves particular attention because it collects spills and can develop buildup quickly in a high-use office.
Do not use abrasive pads or harsh chemicals on finishes, plastic components, or faucet surfaces. They can scratch the material, leave residue, or damage parts that are designed for food-contact use.
Apply an approved sanitizing solution
Use only a sanitizer approved for the dispenser and appropriate for potable-water equipment. Some manufacturers specify a commercial food-service sanitizer, while others provide dilution and contact-time instructions for unscented household bleach. Do not guess at concentrations, mix chemicals, or use scented bleach, degreasers, or fragranced household cleaners inside the reservoir.
Prepare the solution exactly as directed by the product label and the equipment manufacturer. Add it to the reservoir as instructed, making sure it contacts the internal water path. Dispense some solution through each faucet so the faucets and internal lines are treated as well.
Sanitizers need time to work. Let the solution remain in contact with the surfaces for the required contact time. Draining it immediately can reduce its effectiveness. This is one reason a written service procedure is useful: it helps the person completing the task follow the same steps every time.
Drain, rinse, and reassemble
After the required contact time, drain the sanitizing solution fully through the faucets and the unit’s drain outlet if applicable. Refill and flush the dispenser with clean potable water according to the manufacturer’s guidance. Continue flushing until there is no sanitizer odor or taste and the recommended rinse volume has been completed.
Reinstall the cleaned drip tray and removable components. Add a new bottle or restore the water supply, plug the dispenser back in, and turn the heating and cooling functions on. Allow the unit to reach the proper temperature before returning it to service. Test both the cold and hot faucets, if equipped, and check for leaks around the bottle connection, faucets, and rear water line.
When Should an Office Sanitize Its Water Dispenser?
The right interval depends on the unit type, usage level, surrounding environment, and manufacturer recommendations. A lightly used executive suite may need a different schedule than a large office where employees fill bottles throughout the day.
As a practical baseline, clean exterior touchpoints and the drip tray frequently, ideally as part of routine break room cleaning. Schedule full sanitizing on the cadence specified by the dispenser manufacturer or service provider. Many offices also sanitize when changing a bottle if there is visible buildup, after the unit has been unused for an extended period, or whenever water develops an unusual taste, odor, or appearance.
Bottleless dispensers require special attention to filters. A filter is not a permanent solution to every water-quality concern, and an overdue filter can affect taste, flow rate, and system performance. Replace filters on schedule, using the correct filter for the equipment. Keep a record of filter changes, sanitizing dates, and any service calls.
Common Mistakes That Affect Water Quality
The most common mistake is treating the dispenser like a countertop appliance instead of a water system. Cleaning only the exterior may make the unit look cared for, but it does not address the areas where water travels.
Another issue is handling bottle caps or bottle necks with unclean hands. Store water bottles upright in a clean, dry location away from direct sunlight, chemicals, and heavy traffic. Avoid placing bottles directly on a dirty floor. Before loading a new bottle, wipe the bottle neck or cap area as recommended by the supplier.
Offices also run into trouble when several people share responsibility but nobody owns the task. A vague instruction such as “clean the water cooler when needed” is easy to overlook. Assign responsibility to a facilities coordinator, cleaning team, or service partner, then maintain a simple log near the equipment or in the facility maintenance system.
Finally, do not ignore warning signs. Slow dispensing, persistent drips, inconsistent temperatures, water with an unusual odor or taste, visible residue, or recurring leaks call for professional evaluation. Sanitizing cannot correct a worn valve, failed refrigeration component, compromised water line, or improperly installed filter.
Build Water Dispenser Care Into Your Break Room Plan
Water service works best when it is managed as part of the overall break room program, alongside coffee equipment, supplies, and vending. Employees notice when essentials are empty, equipment is out of service, or the water station feels neglected. Consistent care protects the experience your workplace is trying to provide.
For facilities teams, a dependable plan includes daily visual checks, routine exterior cleaning, scheduled sanitizing, filter replacement where applicable, and a clear process for reporting issues. It also helps to keep the area around the dispenser organized, with cups, lids, and supplies stored cleanly without blocking vents or service access.
Certified Coffee Service supports South Florida workplaces with water solutions and responsive break room service built around Service Above All. For offices that prefer not to manage equipment upkeep across multiple vendors, having an accountable service partner can simplify scheduling and help keep beverage stations ready for the workday.
A clean, properly maintained dispenser is a small detail with a visible effect on the workplace. Give it a defined care schedule, follow the manufacturer’s instructions, and address concerns early so employees can keep reaching for fresh water with confidence.